Help Docs Developer Resources Zapier Integration
RumbleUp Zapier Integration
Zapier lets you connect RumbleUp to 1,500+ other web services. Automated connections called Zaps, set up in minutes with no coding, can automate your day-to-day tasks and build workflows between apps that otherwise wouldn’t be possible.
Each Zap has one app, where your information comes from, as the Trigger, and which causes one or more Actions in other apps, where your data is sent automatically.
Zaps Currently Supported
Triggers
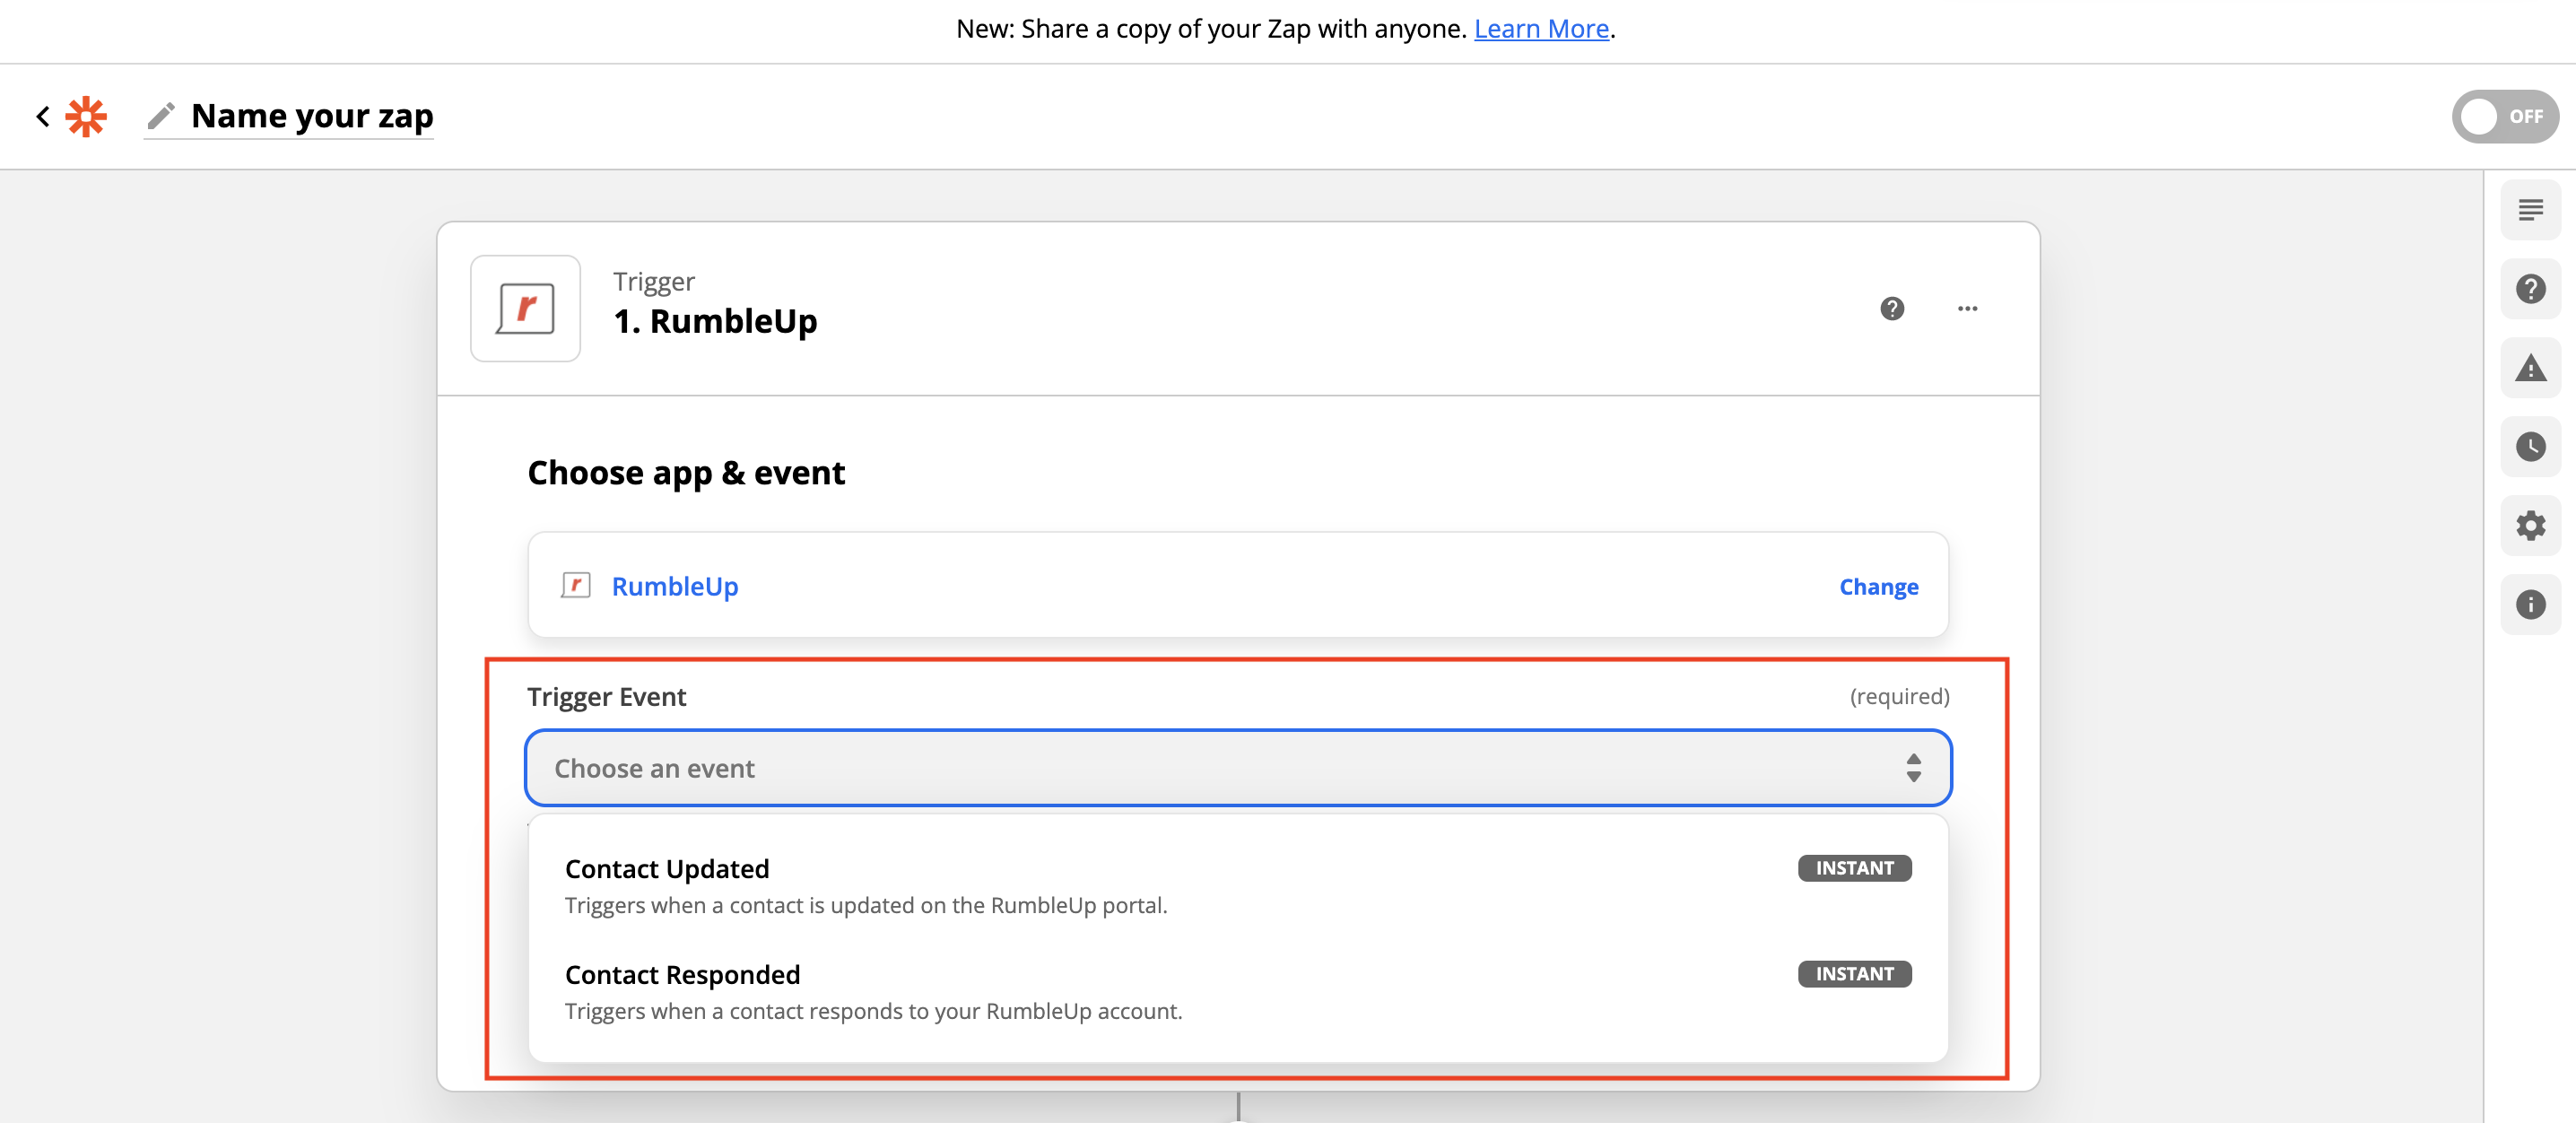
Contact Updated
Triggers when a contact is created or updated to a RumbleUp account.
Contact Responded
Triggers when a contact responds to a RumbleUp account.
Actions
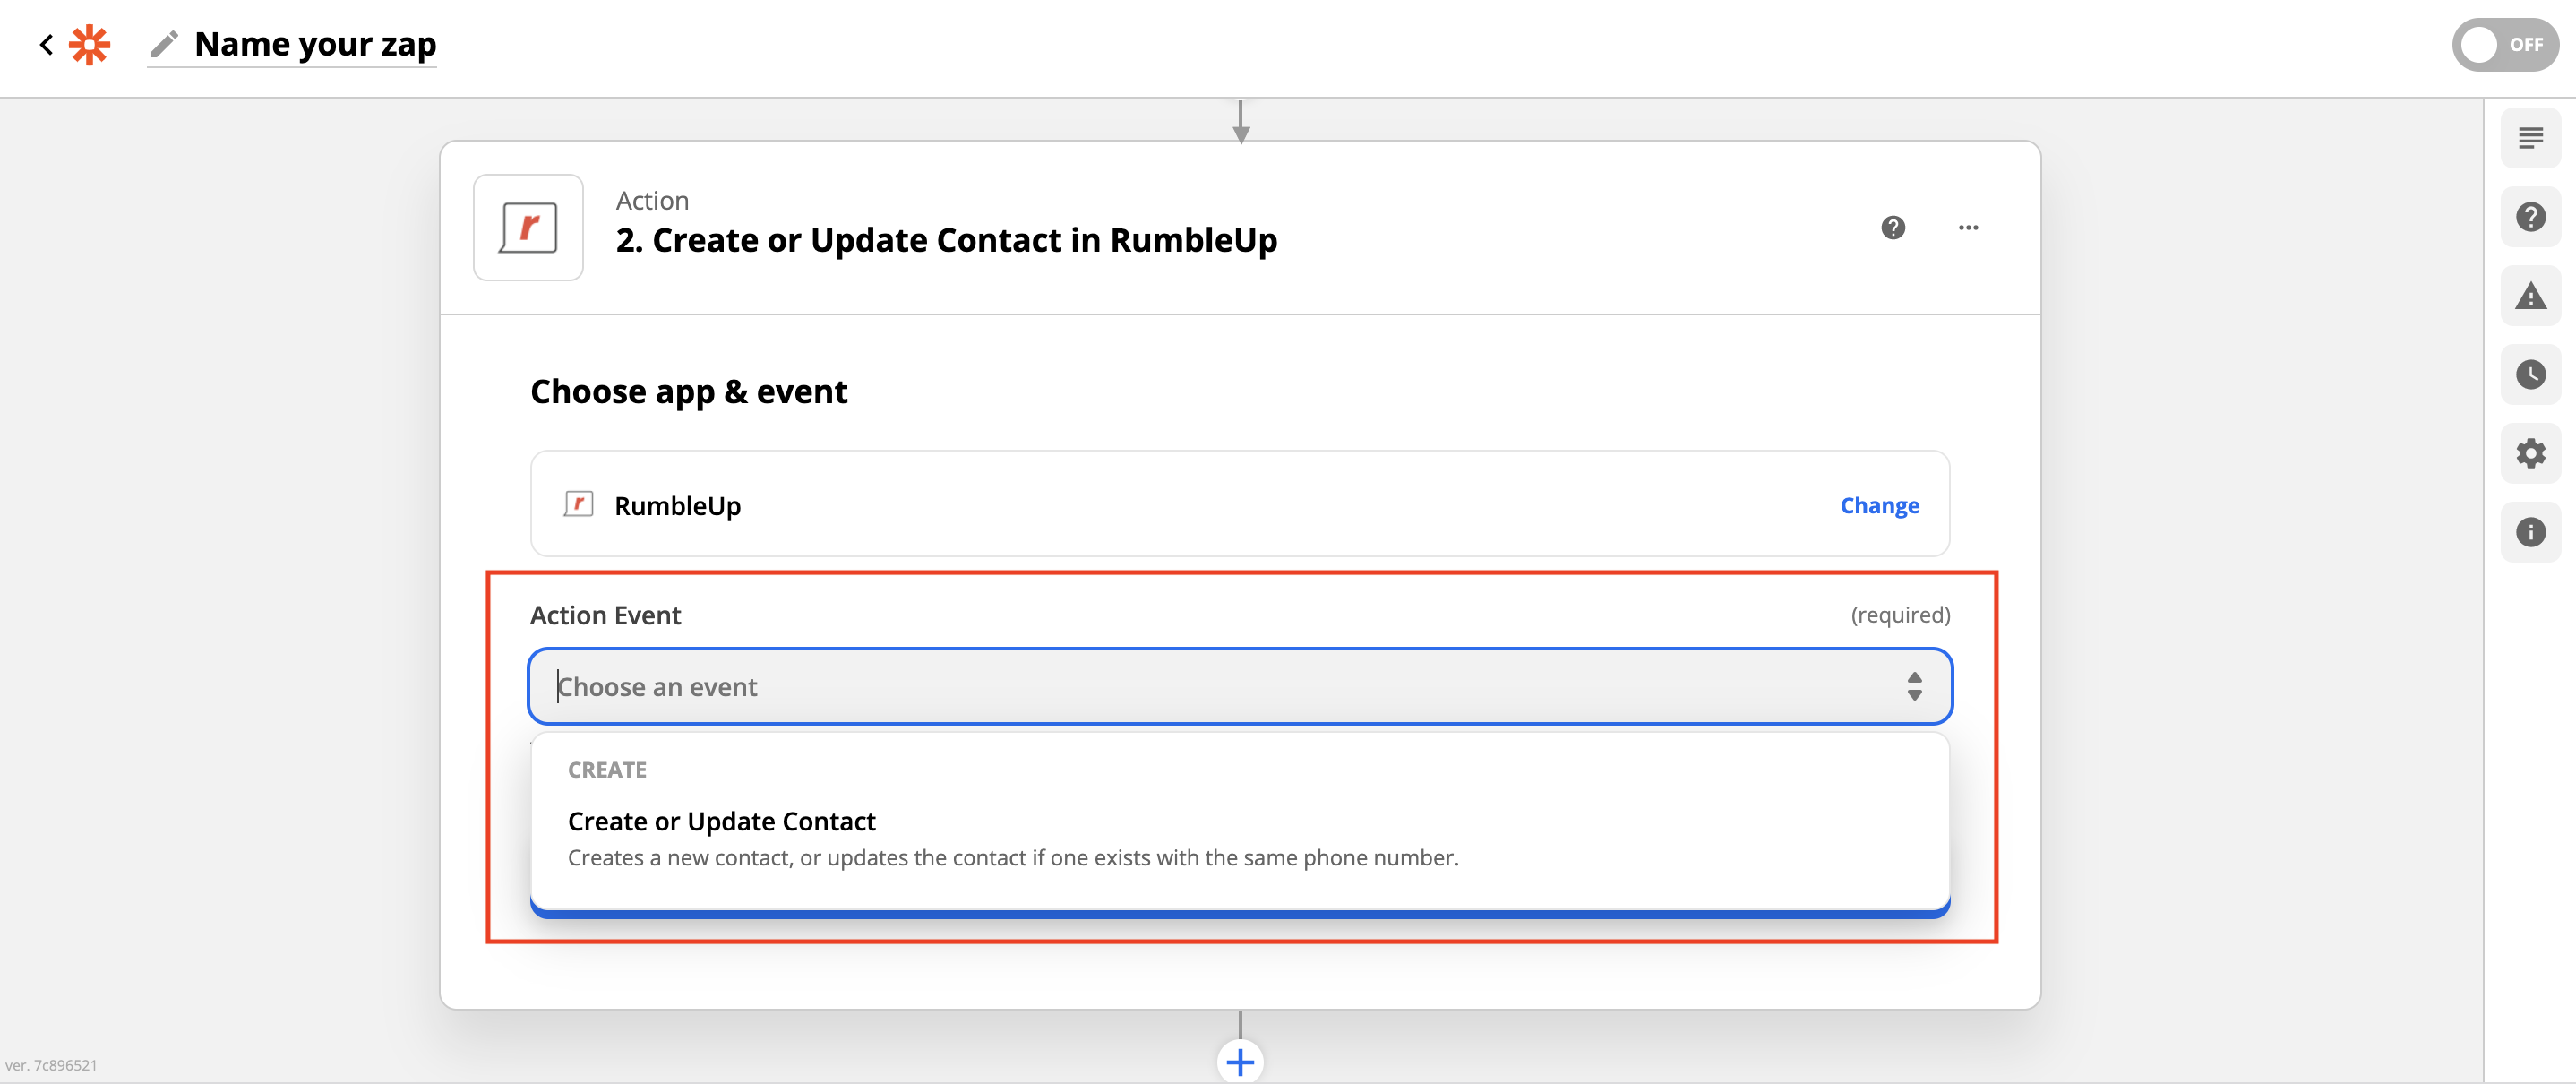
Create or Update Contact
Creates a contact if one does not already exists, or update the contact that exists with the same phone number.
Getting Started
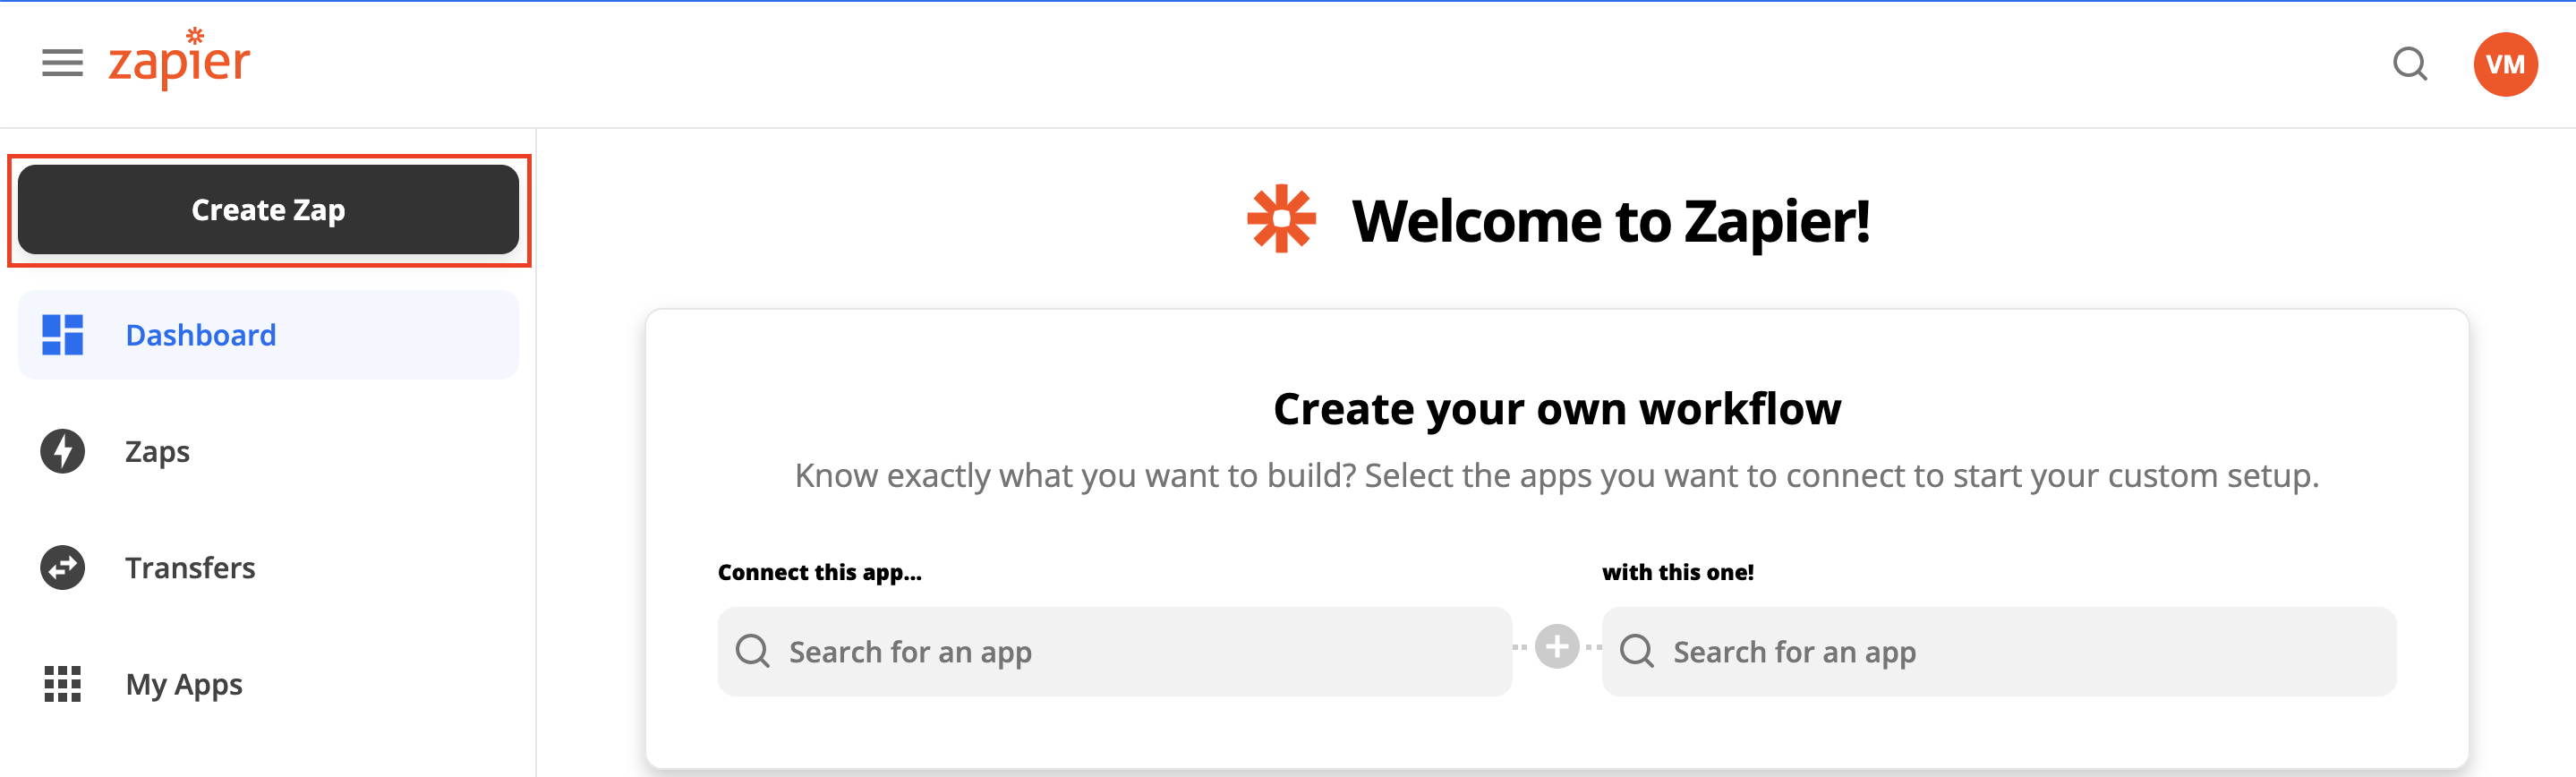
Step 1: Create a Zapier Account
- Sign up for a free Zapier account.
- In the upper-left, click Create Zap.
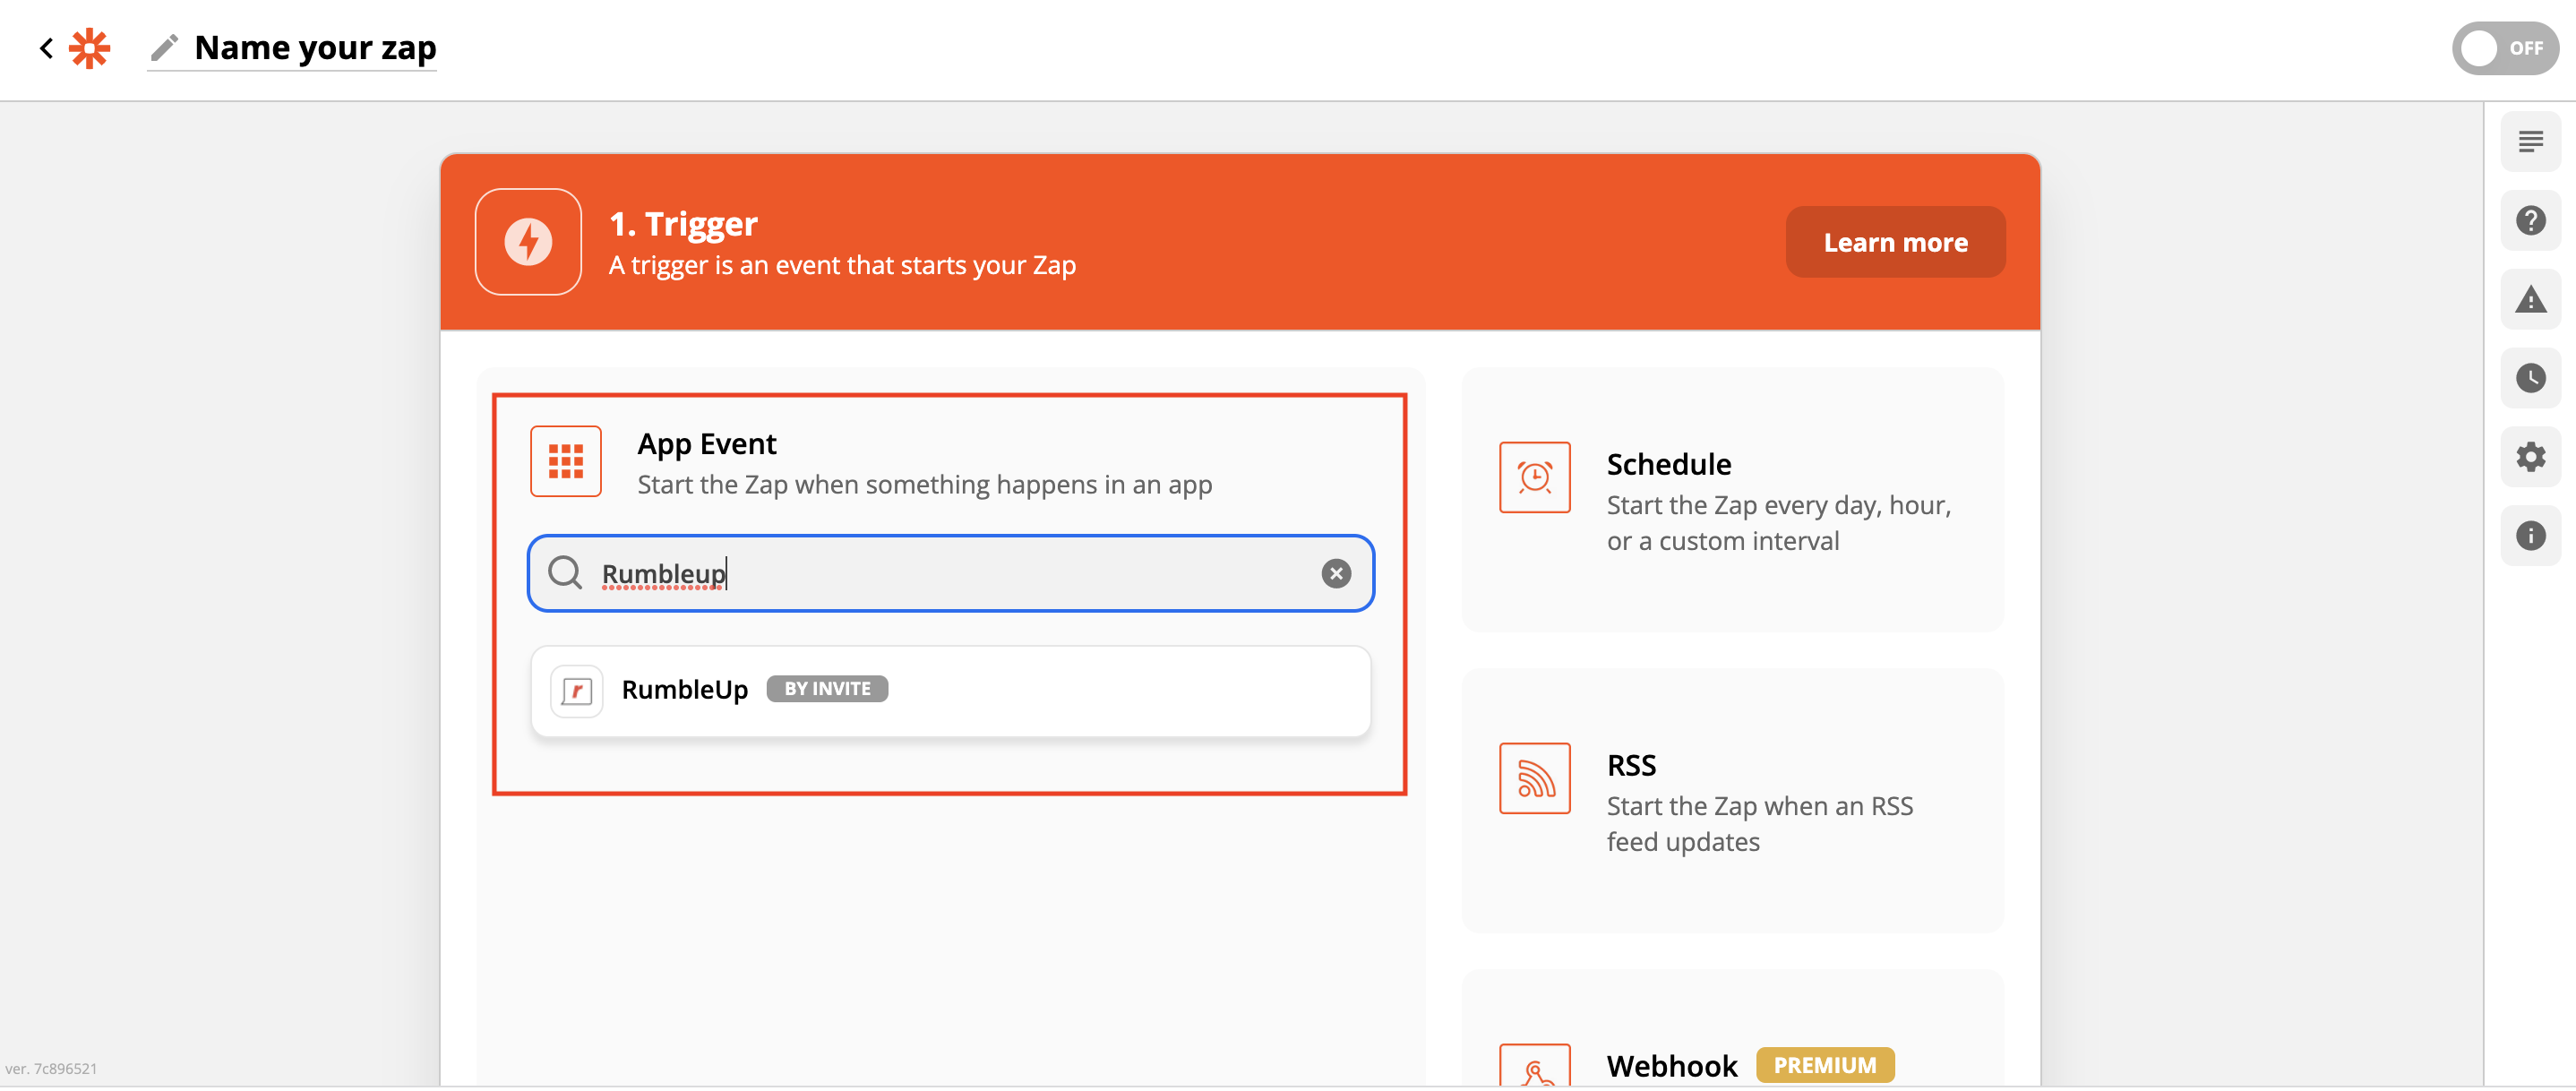
Step 2: Setup Trigger
- Select the Trigger App.
- If you want to use a RumbleUp Trigger, select RumbleUp.
- If you want another app to trigger an action in RumbleUp, choose that app.
- Select the Trigger Event.
- Select the Account you want to connect.
- (If you’ve never made a RumbleUp Zap before, you will be asked to sign in. Login information is available at Integrations -> API Keys).
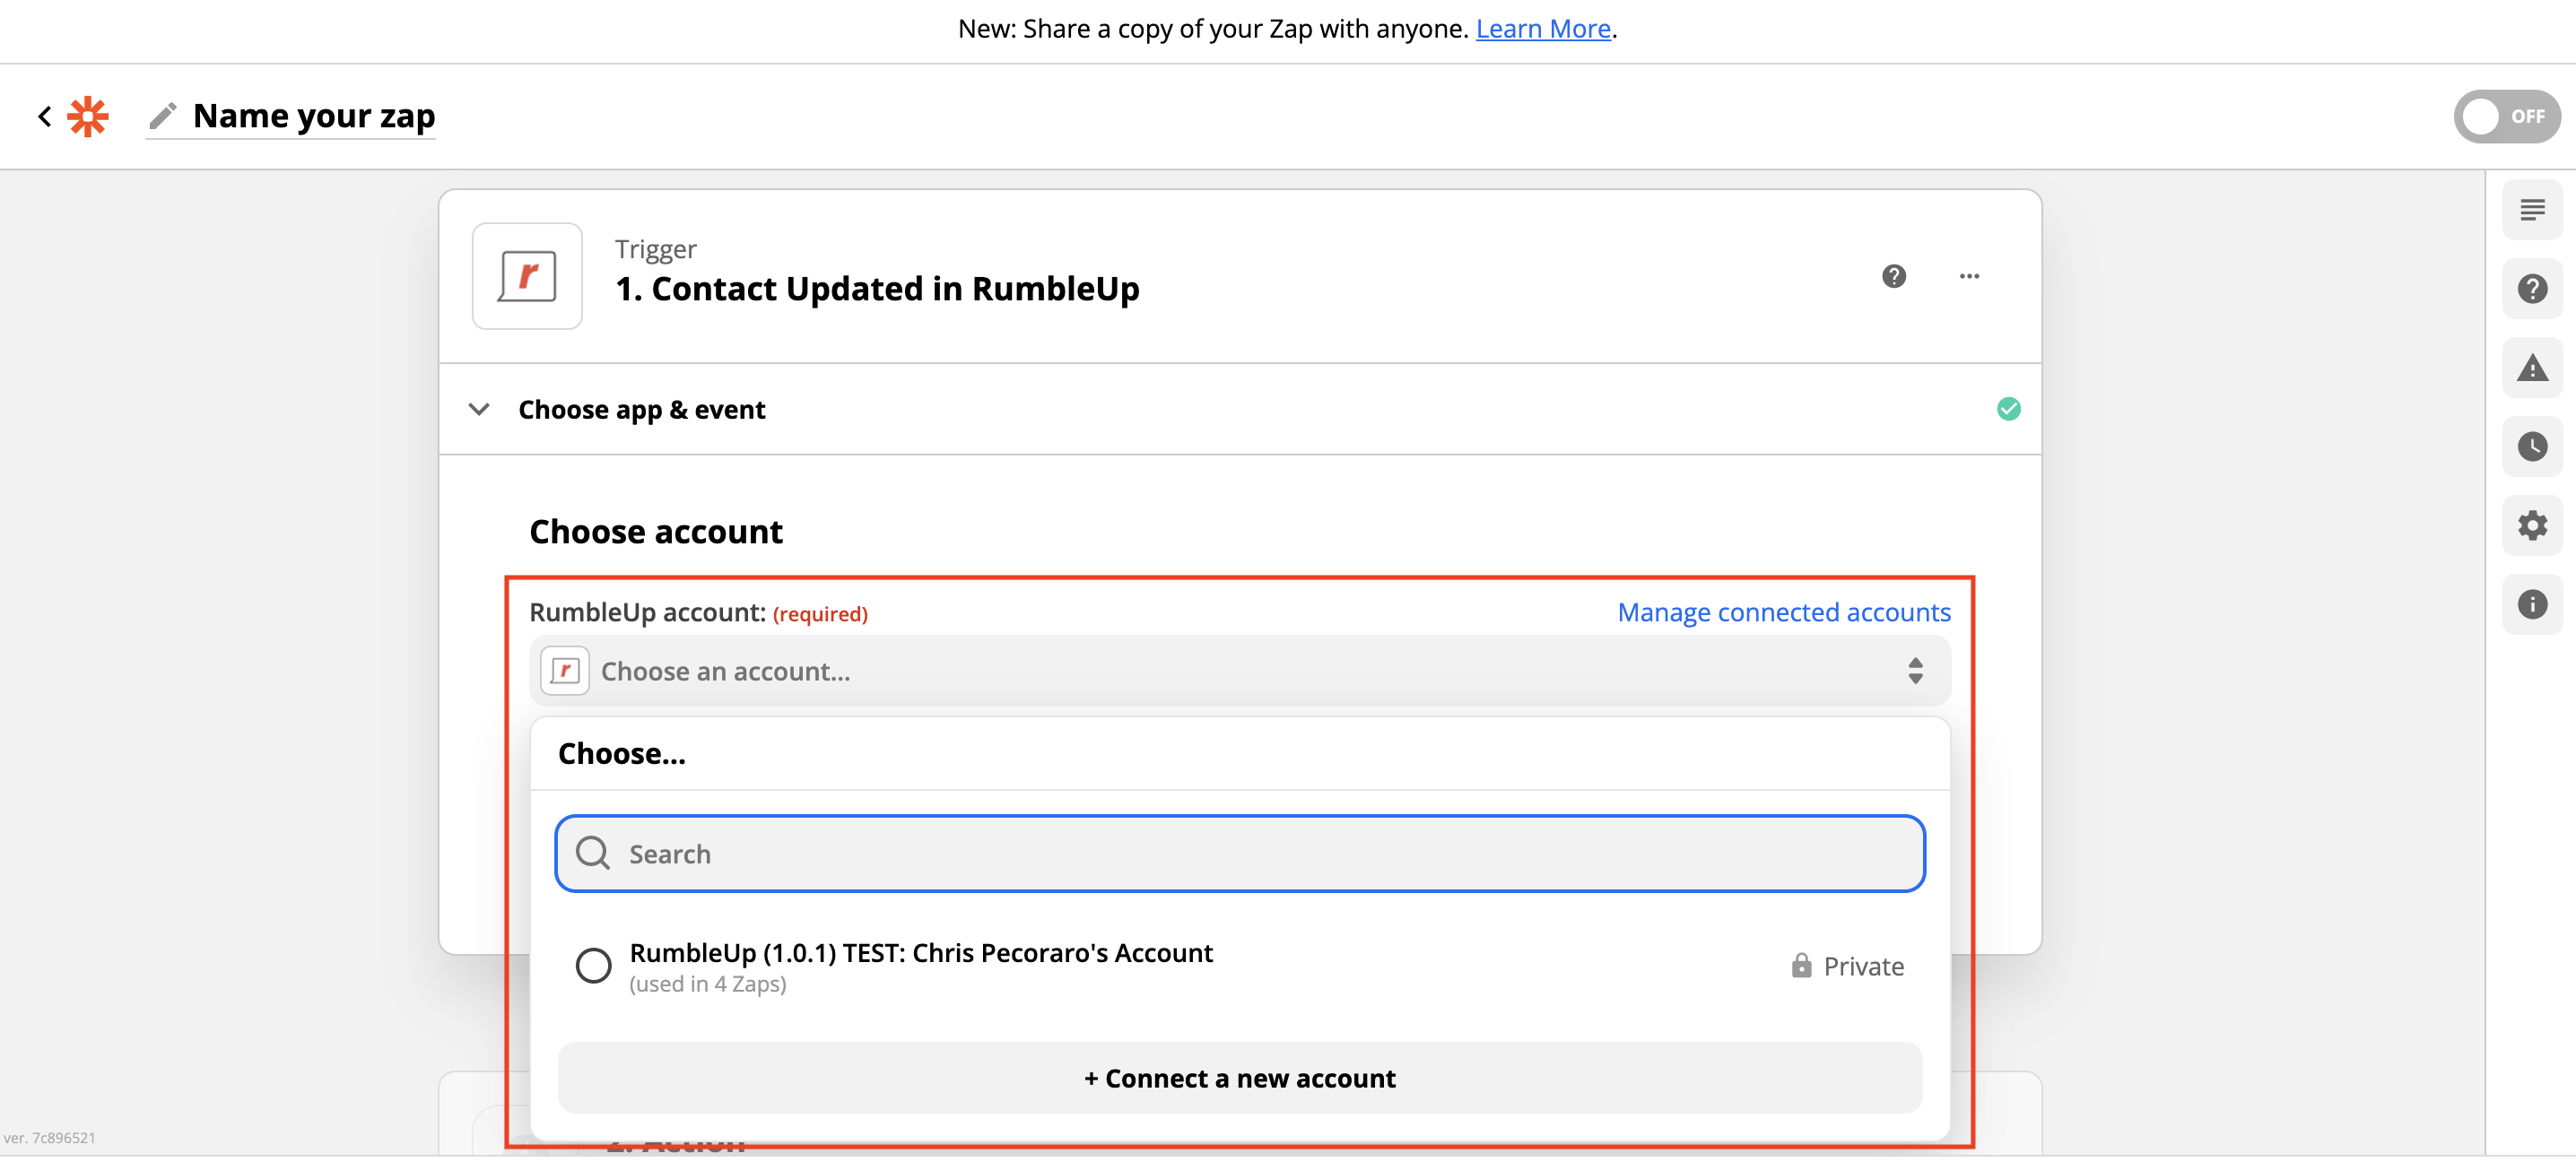
- Test your Trigger and click Continue.
Step 3: Setup Action
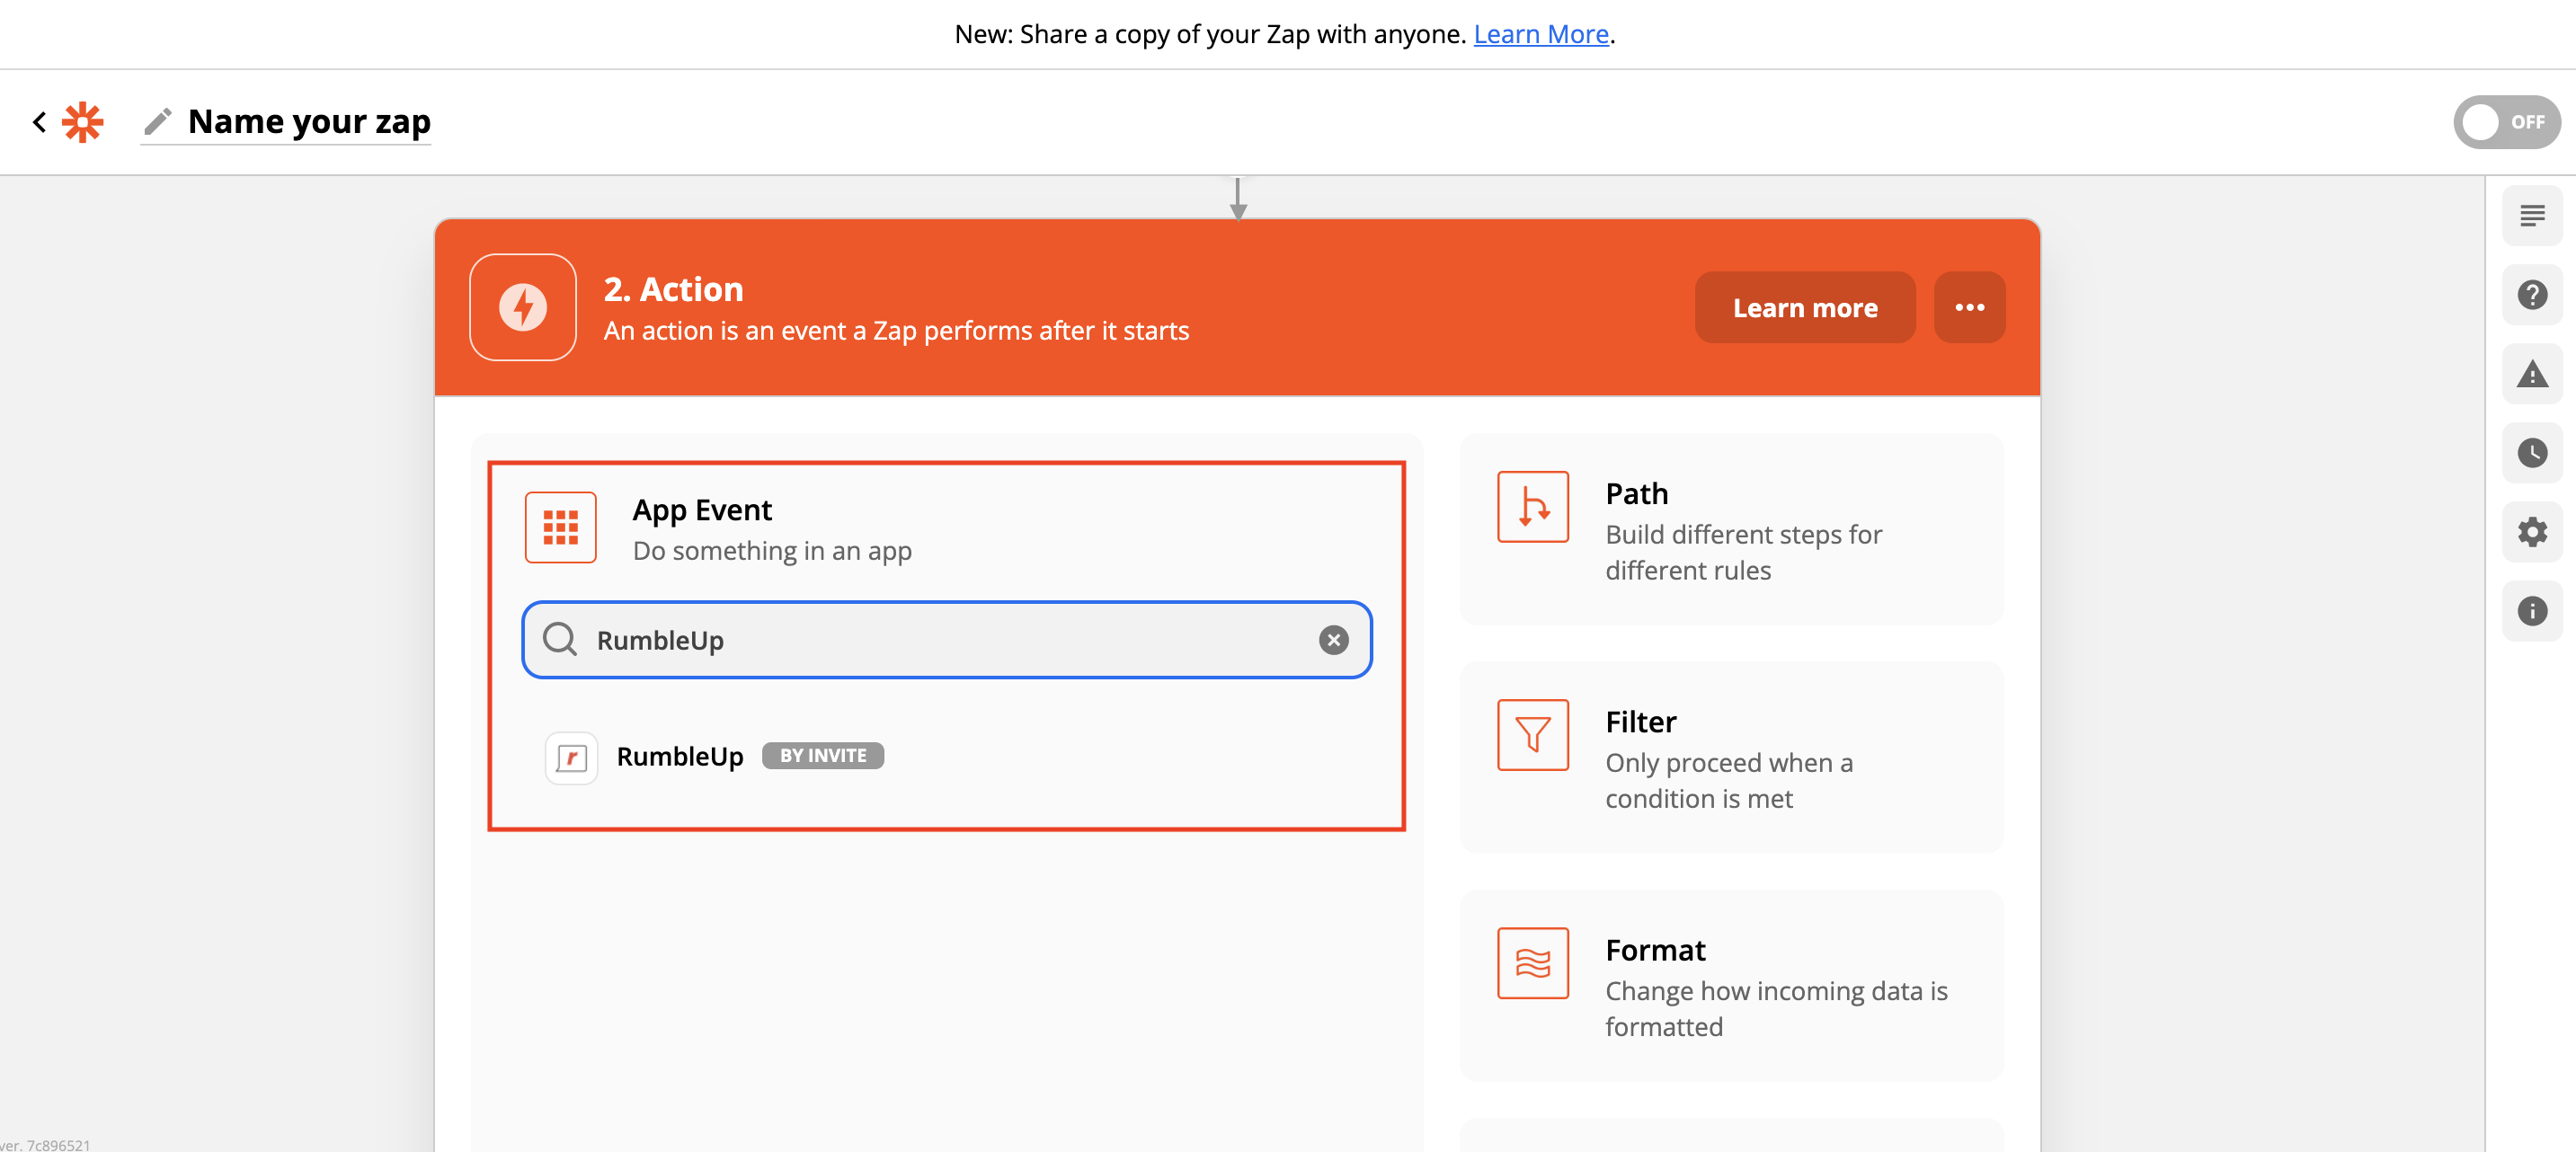
- Select the Action App.
- If you want to use a RumbleUp Action, select RumbleUp.
- If you want another app to receive data from RumbleUp, choose that app.
- Select the Action Event.
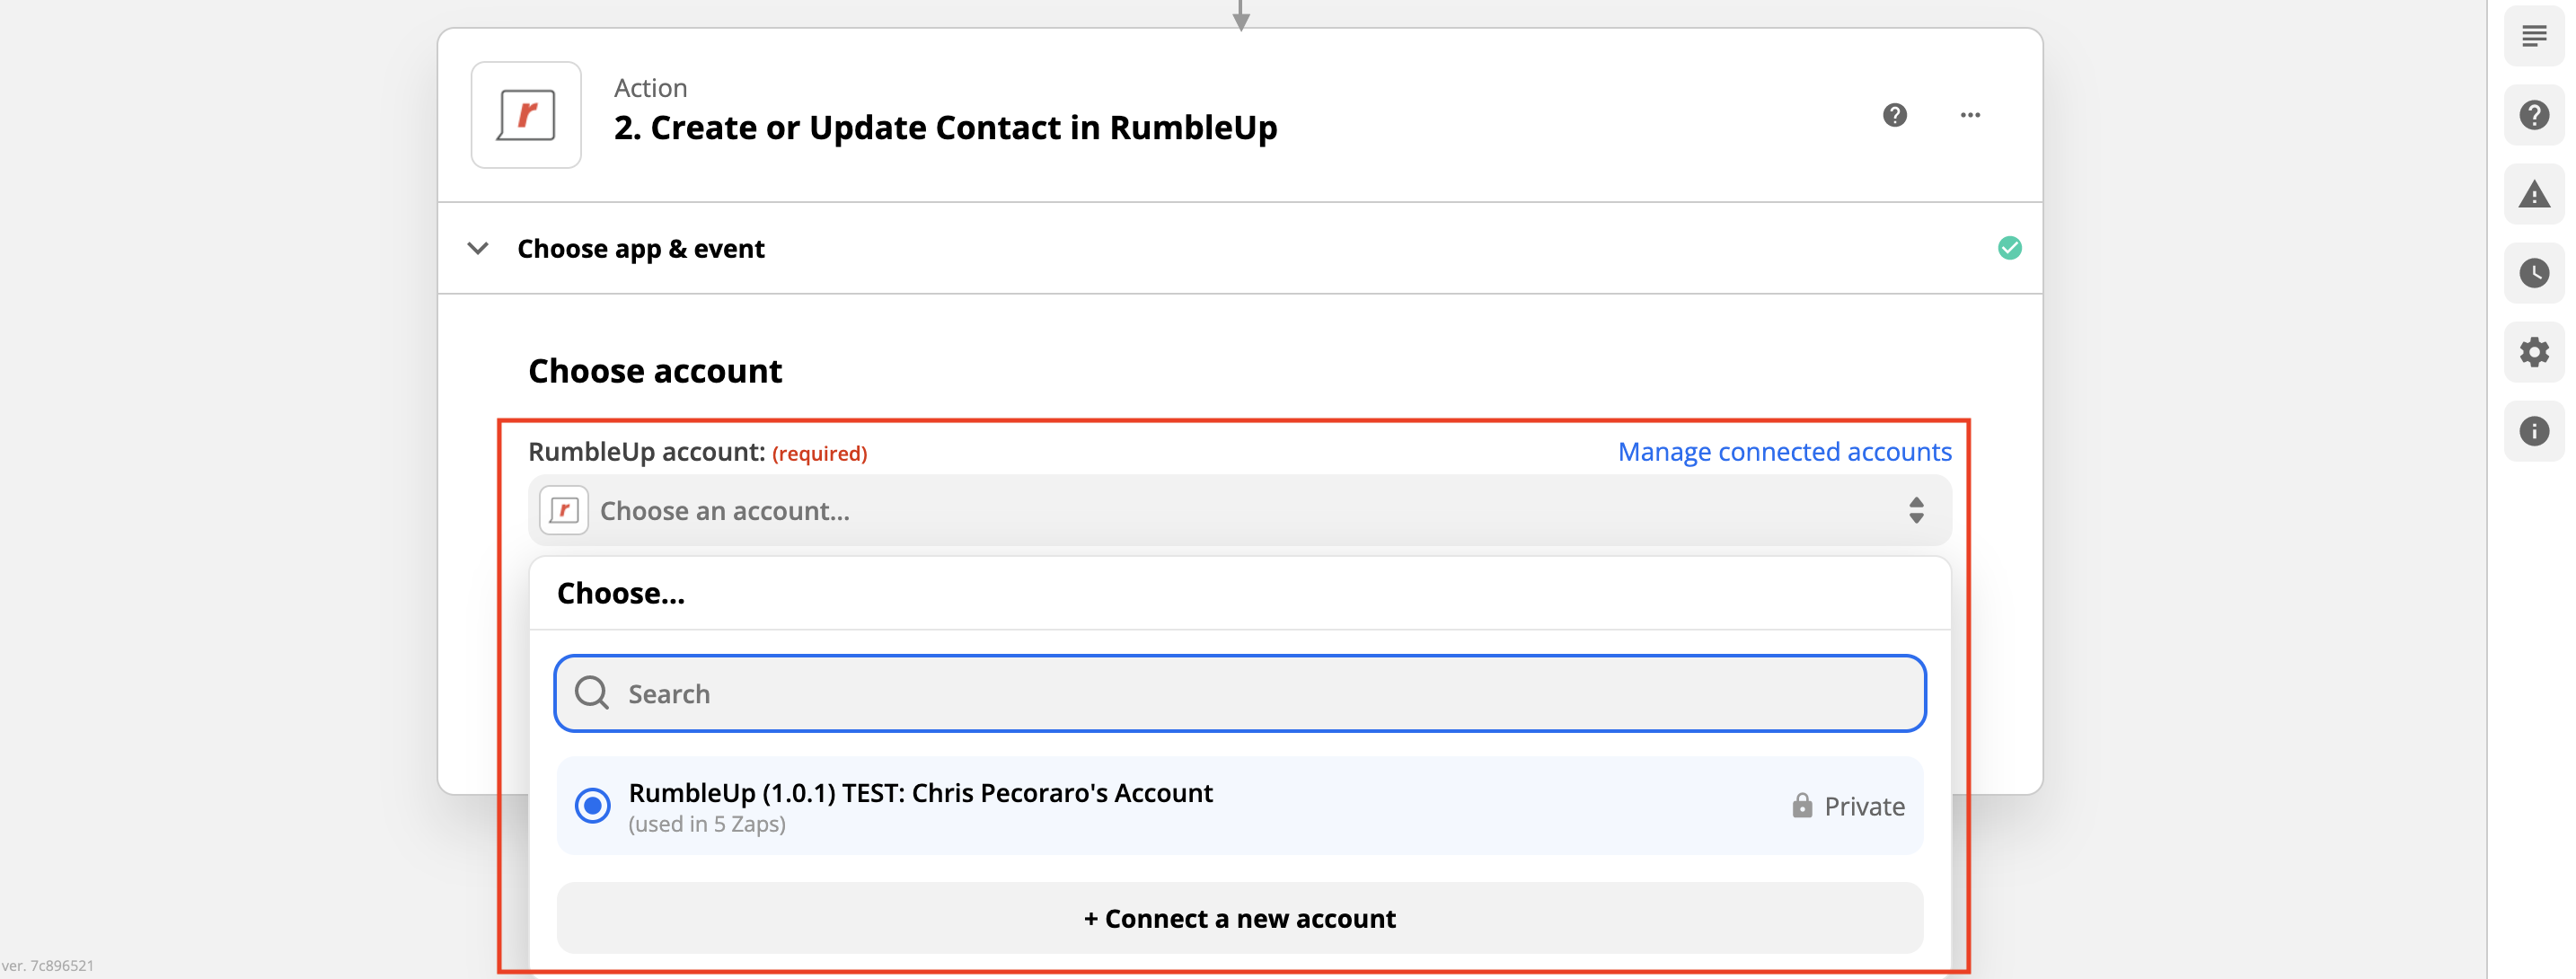
- Select the Account you want to connect.
- (If you’ve never made a RumbleUp Zap before, you will be asked to sign in. Login information is available at Integrations -> API Keys).
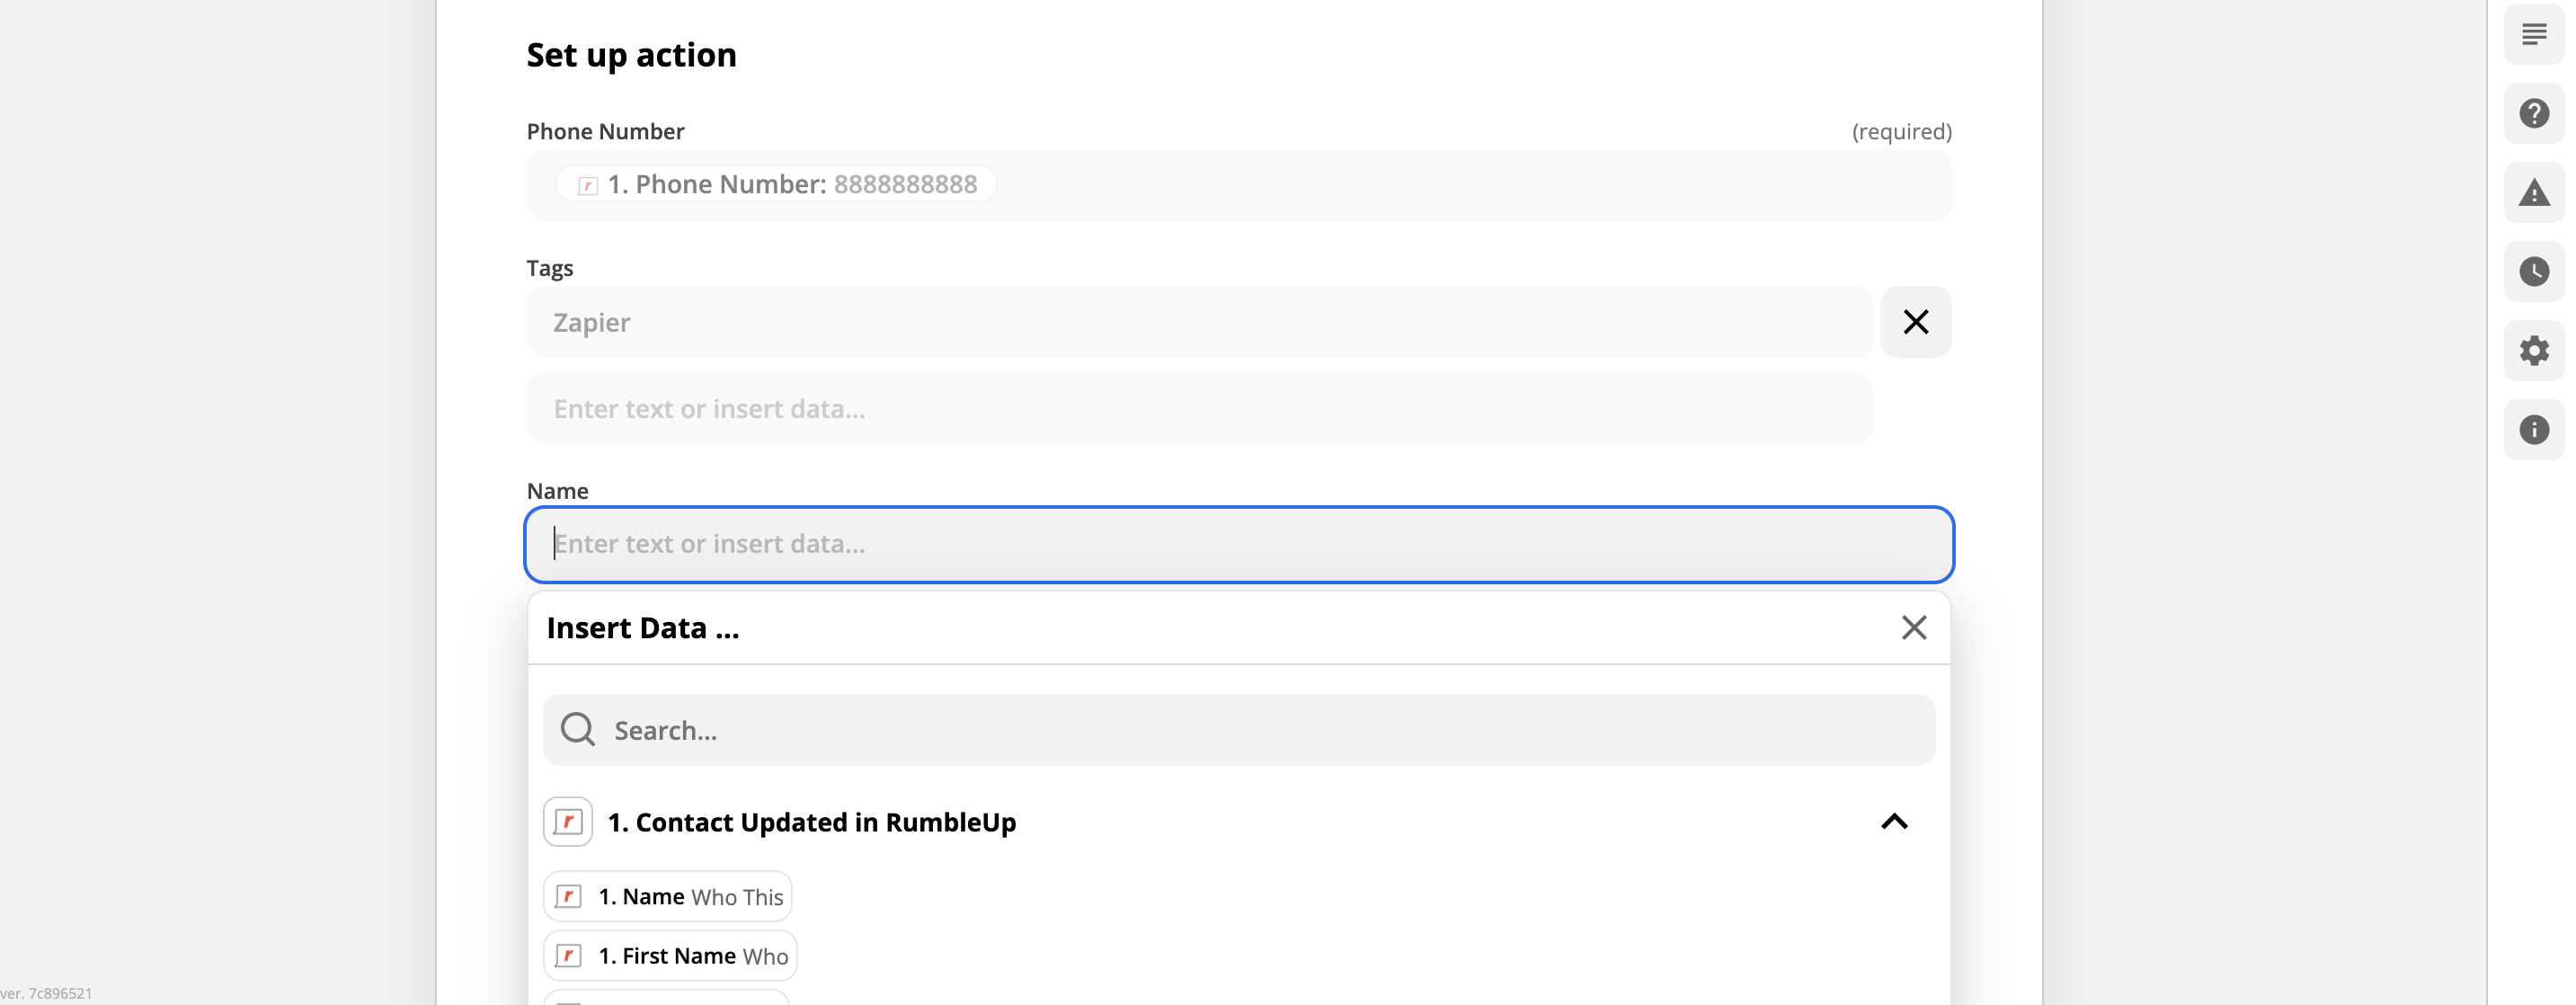
- Set up your Action by mapping the Trigger data into the corresponding fields.
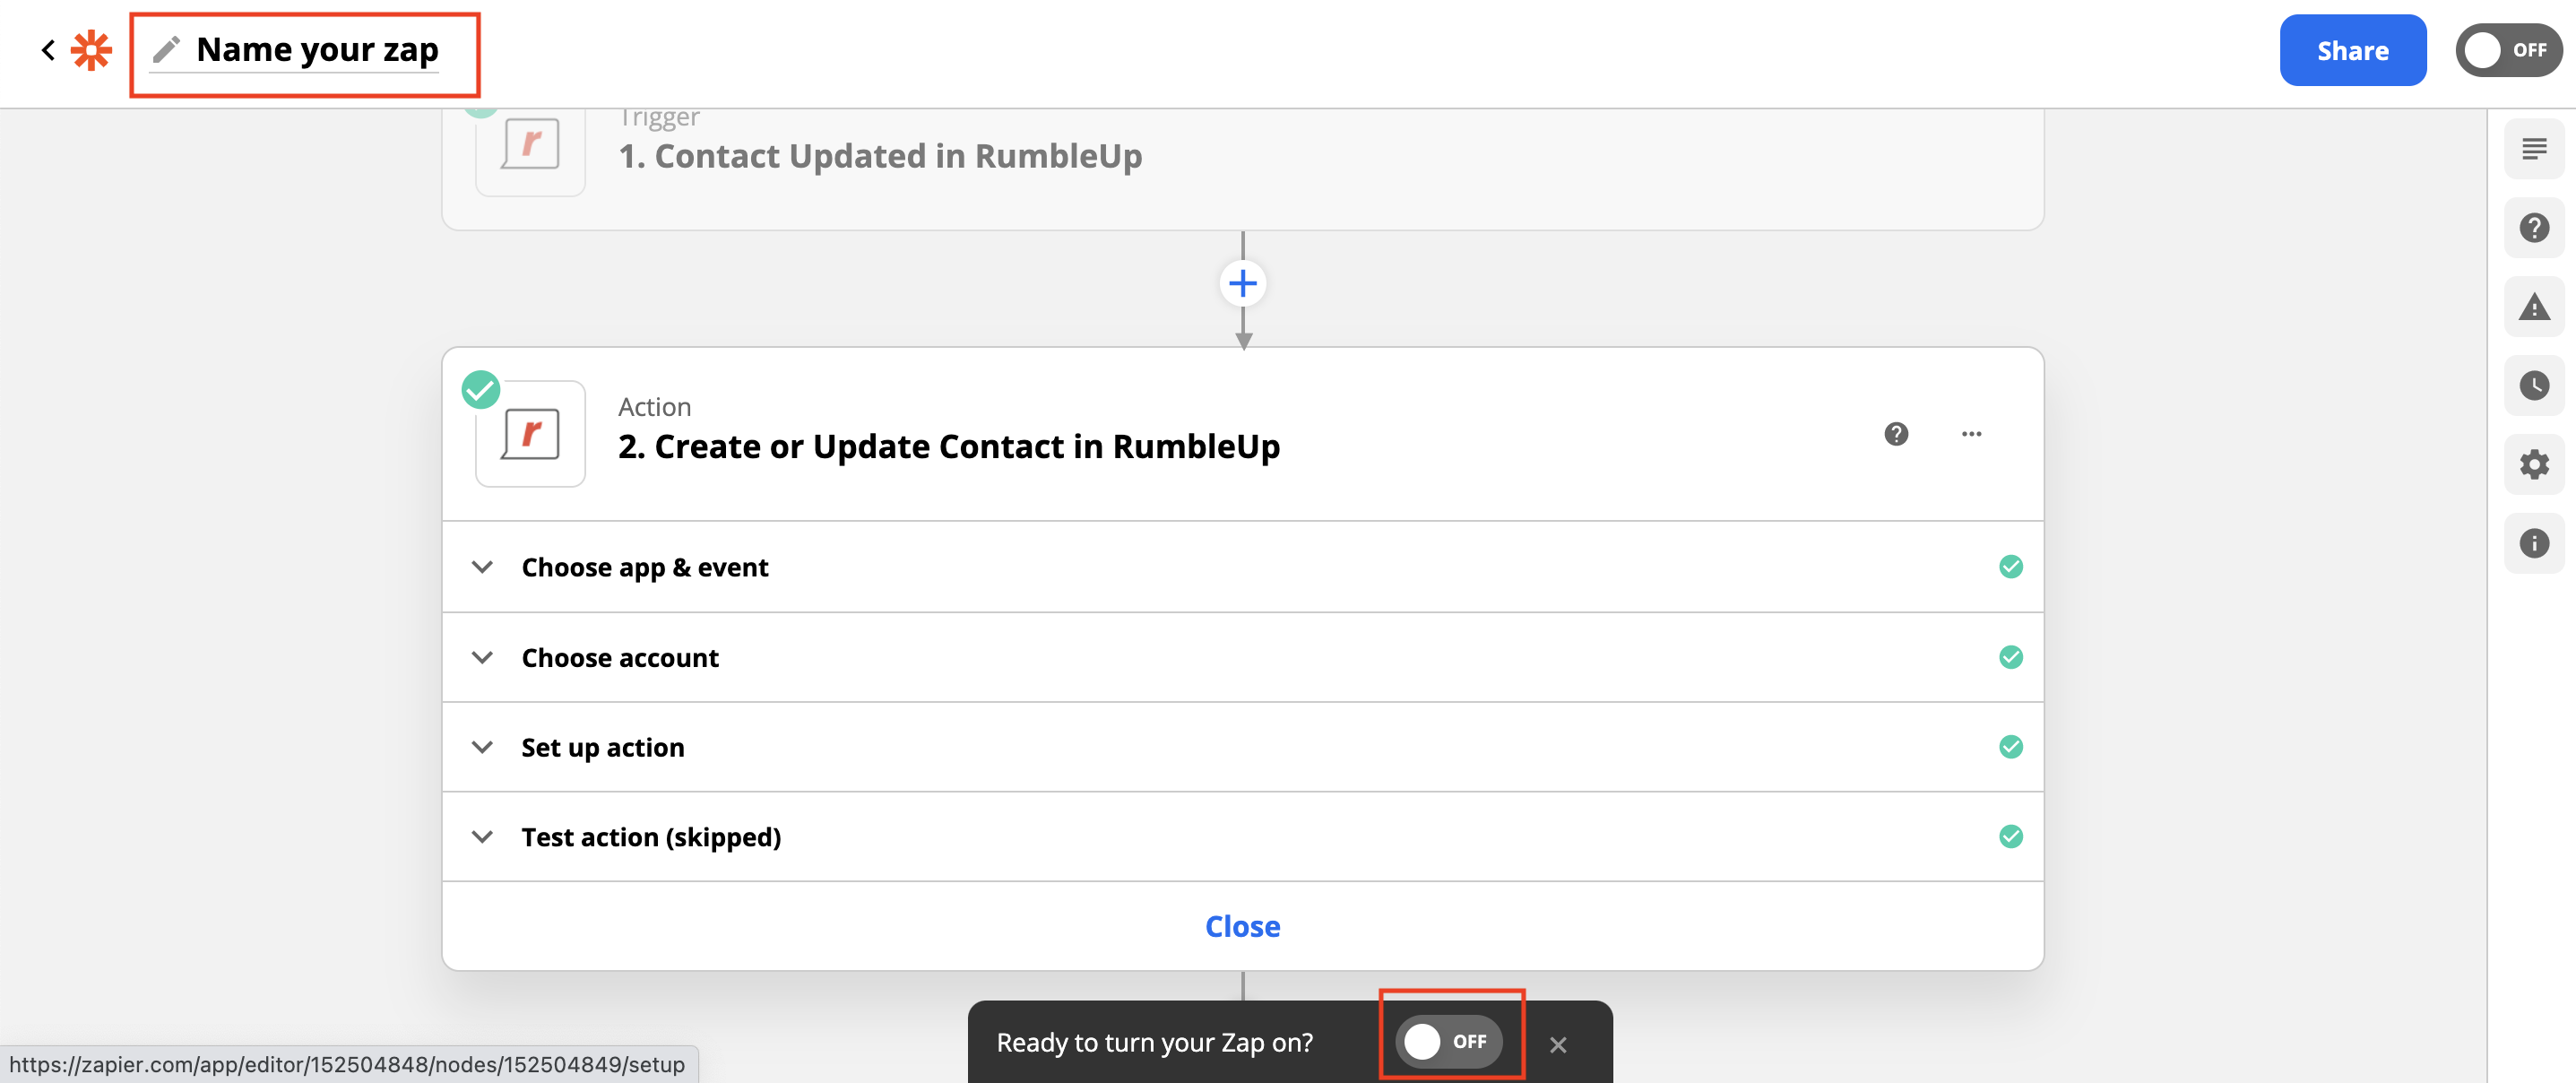
Step 4: Test and Save
- Click Test and Continue, or Test and Review if you want to double check any of your steps.
- Name your Zap and turn it on in order to start the integration.